I made 2 of these last night. One for my brother and his family and one for my sister and her family. The inside has little hearts showing everyone's names. I am really happy with how they turned out.
Products used
Pink cardstock
We R Memory Keepers Vintage Brass
Nestabilities for the hearts
Misc. buttons
Pop Dots
Cat's Eye chalk in Chestnut
Sharpie fine point pens
ATG
Craft glue
Exacto knife
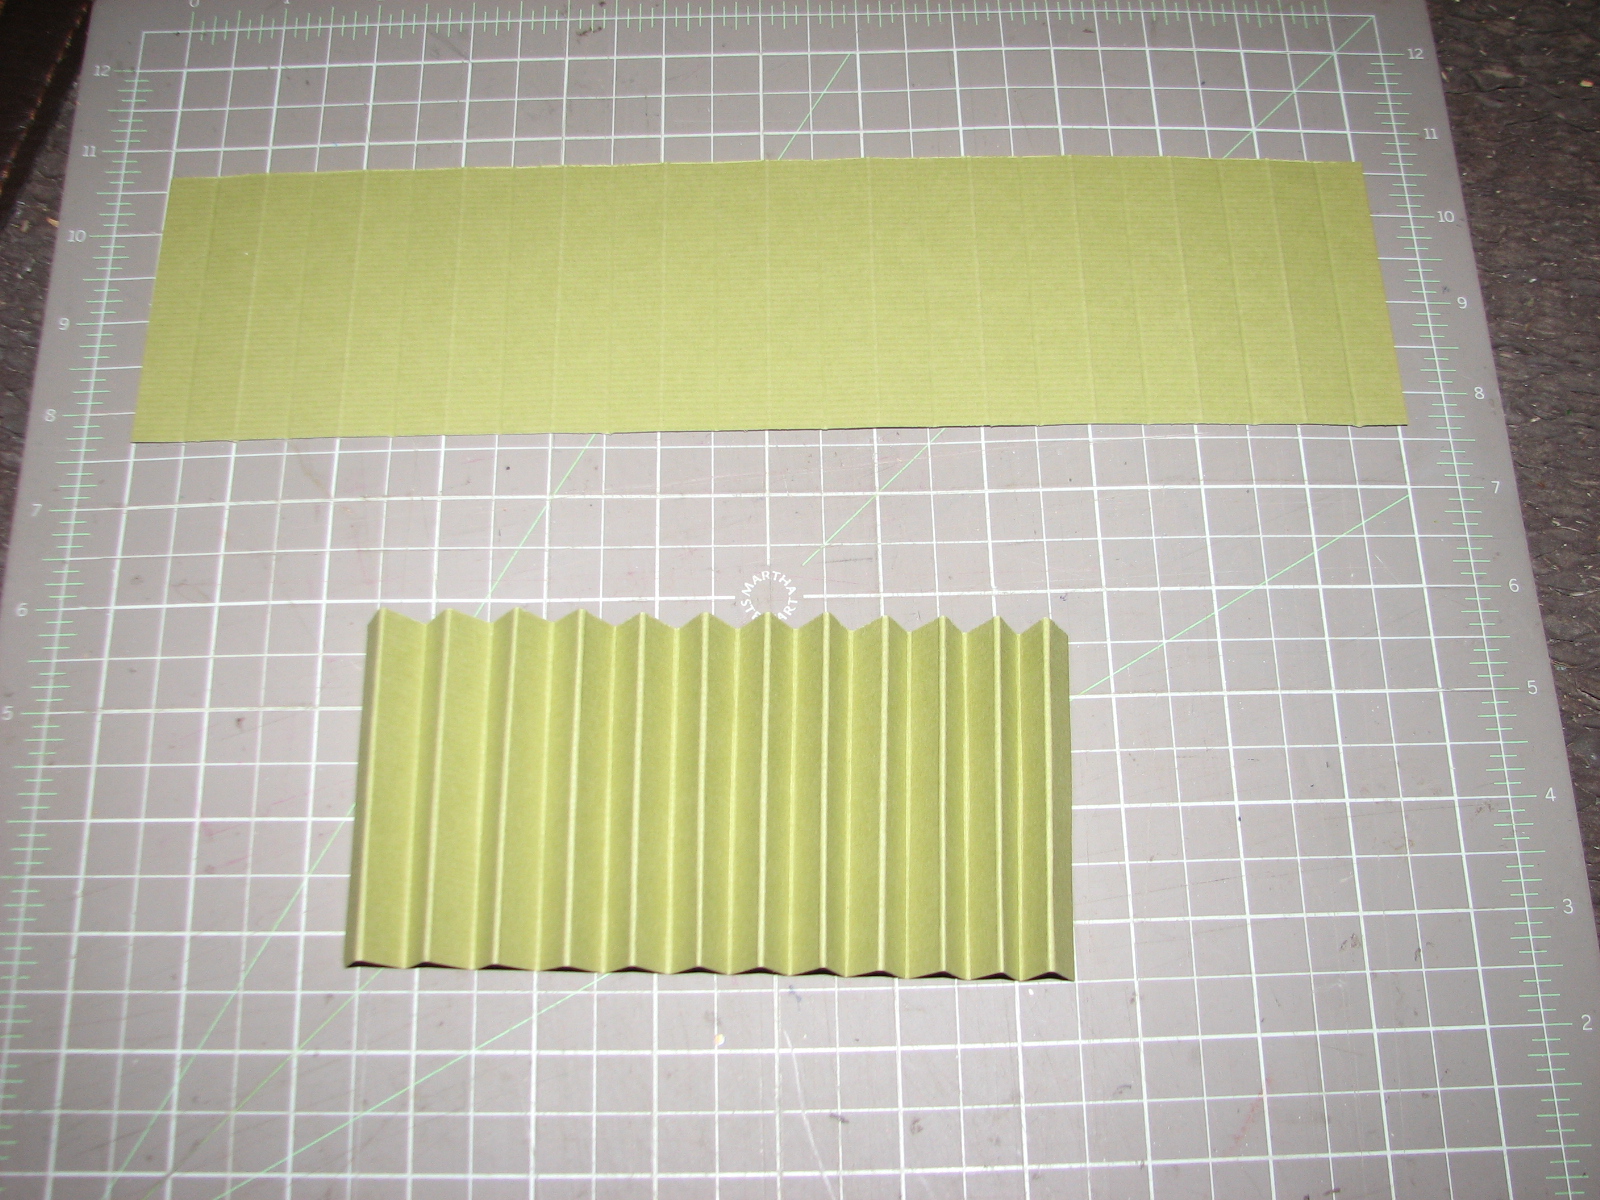
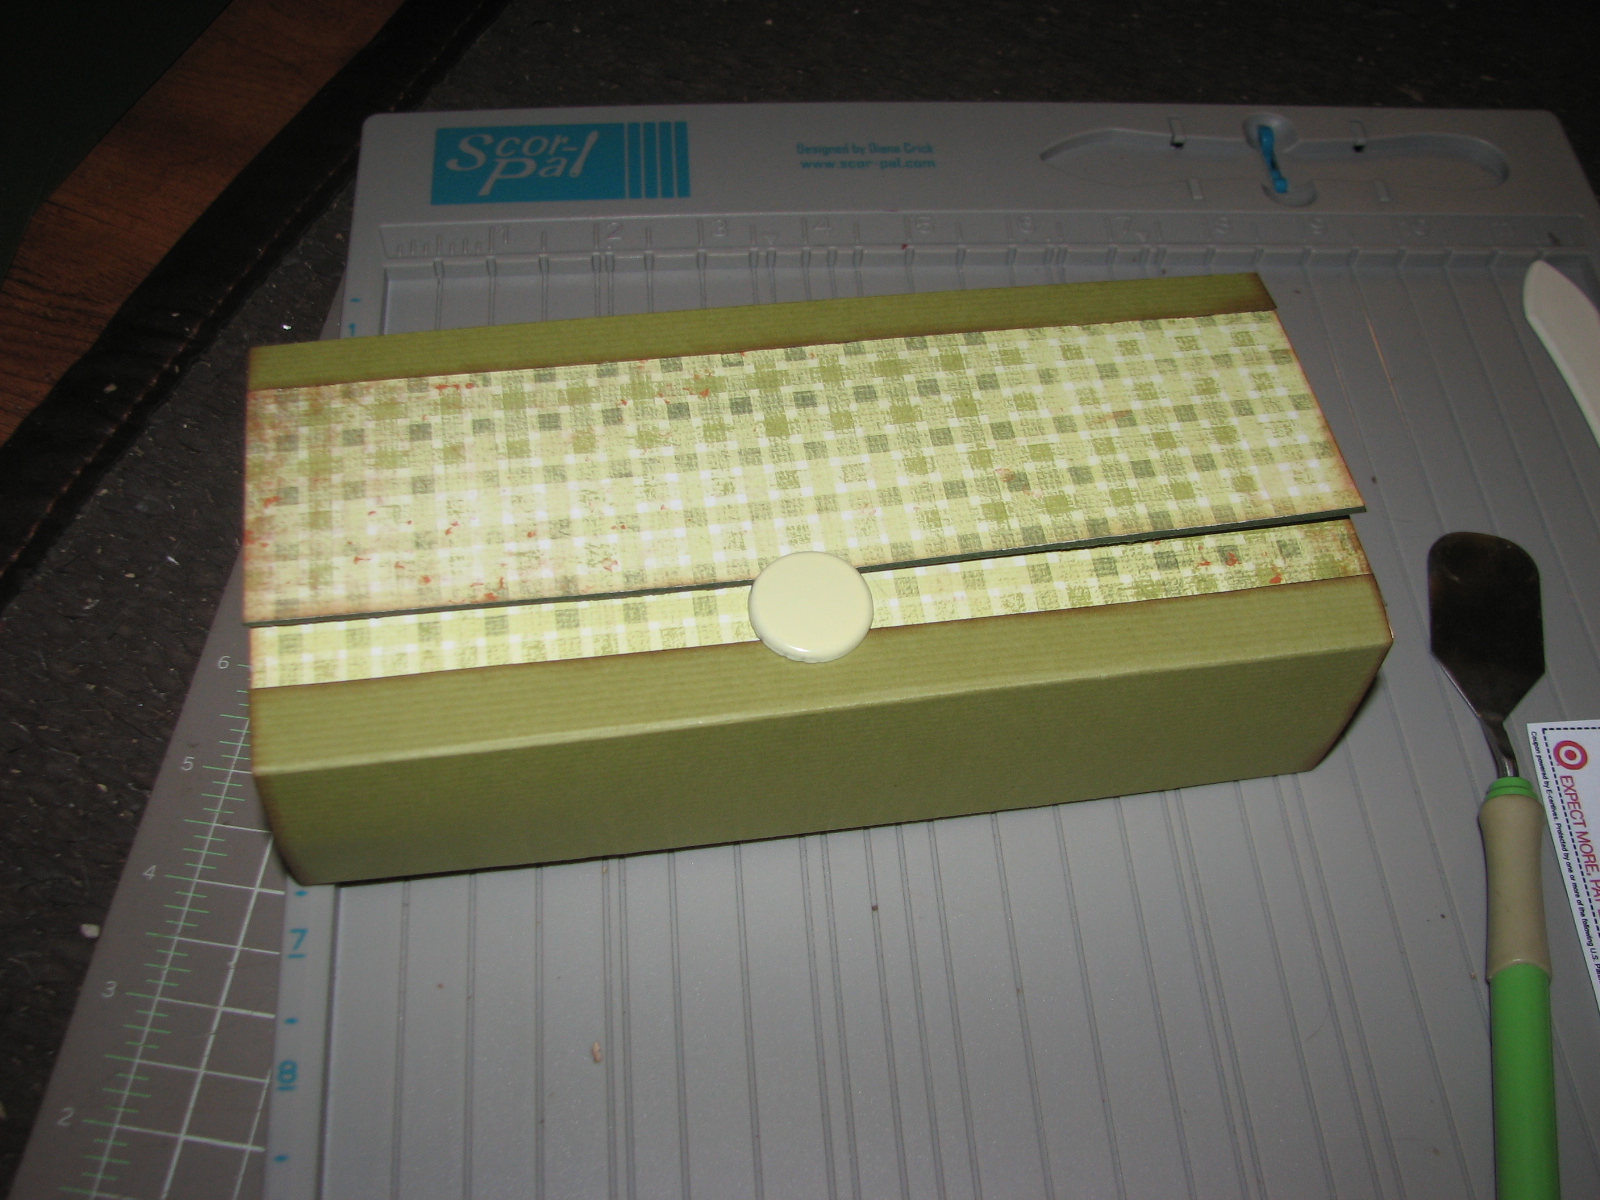
Scor Pal
ruler
Here is a link for directions http://www.splitcoaststampers.com/resources/tutorials/trishuttercard/
Thanks for looking!